
Reviewed · JACK THE RIPPER TOURS
Jack the Ripper Private Immersive Tour
The most compelling part of this Jack the Ripper walk is its attention to the people and streets behind the crimes. You move from Aldgate to Spitalfields, hearing about lodging houses, workhouses, poverty, policing, newspapers, and the desperate choices that shaped life in 1888. Guide Jenny adds photos, music, street cries, and her own theory about the killer.
I like the small-scale private format, which gives you room to ask questions, and I like the visual aids that help you picture places that have changed. The route also reaches quieter corners away from central London’s main sightseeing crowds. The main caution is physical: this lasts about two and a half hours with no break, and one account raises a concern about how clearly the audio equipment works for anyone hard of hearing.
In This Review
- Key points to know before booking
- What this Jack the Ripper walk actually offers
- Aldgate sets the scene in six minutes
- Mitre Street and Mitre Square connect two murders
- Goulston Street reveals the police problem
- Wentworth Street and Brick Lane bring the victims into focus
- Hanbury Street shows the case at its most personal
- Wilkes Street and Puma Court explain how fear spread
- Commercial Street links pubs, markets, and survival
- Brushfield Street and the Lusk letter
- Mary Kelly’s final stop is the longest and hardest
- What $47.52 buys you
- Timing, walking, and practical details
- Who should book this London crime walk?
- Should you book the Jack the Ripper Private Immersive Tour?
- FAQ
- Where does the tour start?
- Where does the tour finish?
- How long does the tour last?
- Is the tour private?
- What is included?
- Is the tour suitable for anyone with walking difficulties?
- Are service animals allowed?
- When can I cancel for a full refund?
Key points to know before booking
- Jenny leads a detailed Whitechapel route: Her presentation covers the murders, suspects, police work, letters, and the lives of the victims.
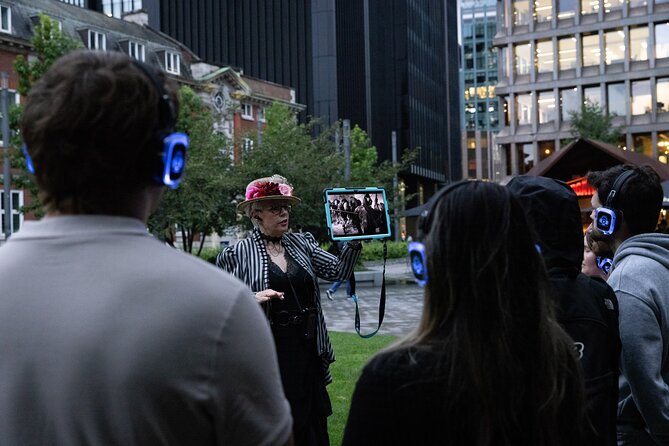
- The 14-inch tablet adds useful visual evidence: You see photographs of victims, locations, letters, and historical material during the walk.
- Sound is part of the experience: Headphones, period music, newspaper cries, and pub sounds are used to make the streets feel closer to their 1888 setting.
- The route covers 15 stops: It begins near Aldgate Station and finishes near Bell Lane, with directions toward Liverpool Street Station.
- You walk and stand for 2.5 hours: There is no scheduled break, so comfortable shoes and reasonable fitness matter.
- The strongest value is personal attention: At $47.52 per person, the price is sensible for a private outing if your group wants time for questions and a focused guide.
What this Jack the Ripper walk actually offers
This is not simply a stroll past a few famous crime sites. The route uses the murders as a way into the social world of east London in 1888. You hear about homelessness, common lodging houses, workhouses, unemployment, street vendors, pub life, and the relationship between the Metropolitan Police and City of London Police.
That wider setting gives the crimes more meaning. You are not only asked to picture a body in a dark alley. You are shown why certain streets were crowded, why people fought over basic comforts, why lodging money mattered, and how fear spread through newspapers and rumor.
Jenny is the guide named for this experience, and her presentation is clearly the central feature. She brings a strong interest in the case, explains competing theories, and leaves you with her own view of who might have been responsible. You can ask questions throughout, which matters because the Ripper case is full of disputed evidence and uncertain identities.
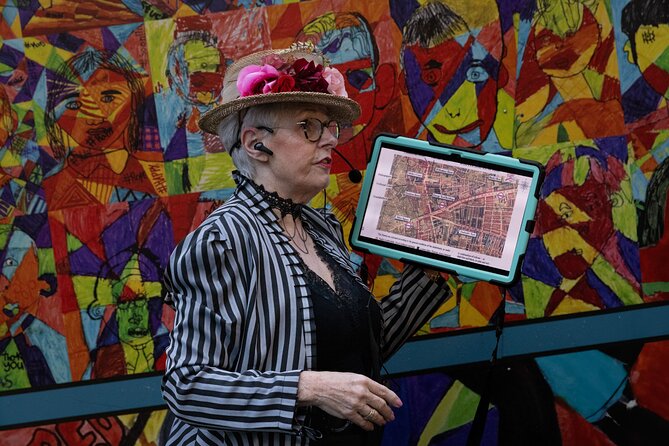
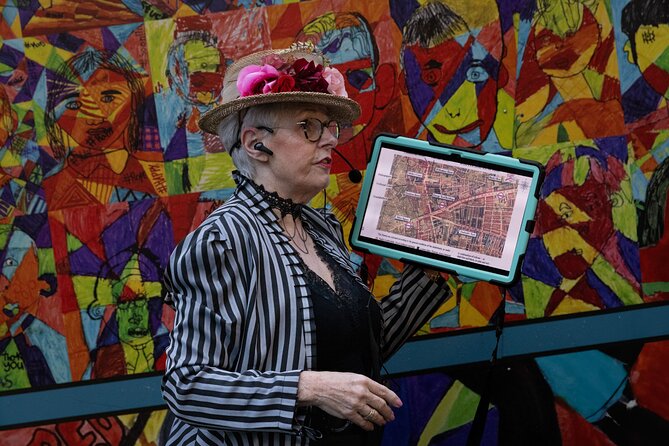
The presentation also relies on a 14-inch tablet. That is a practical touch. Modern streets can make the old crime scenes hard to recognize, but photographs of the locations and victims give you a visual reference while Jenny speaks.
More Ripper walks in the East End:
- London: The Original Jack the Ripper Walking Tour
★ 4.7 · 7,833 reviews - London Jack the Ripper Guided Tour with Ripper-Vision
★ 4.5 · 4,840 reviews - London: Jack the Ripper Small Group Tour
★ 4.7 · 3,159 reviews
Aldgate sets the scene in six minutes
The walk begins at Dorsett City Hotel, close to Aldgate Station. The opening introduction covers the murders and explains what the area looked like in 1888.
Aldgate is a useful starting point because the route soon moves into streets where the social conditions of the period become central. This first stop is brief, so you will not spend long getting oriented. It works as a quick opening rather than a full history lesson.
At St Botolph’s Aldgate, the focus shifts from the killer to the people living around the crime scenes. Jenny discusses homelessness, common lodging houses, workhouses, and the shortage of employment. The historical photos displayed on the tablet help make this section more than a spoken list of hardships.
This is one of the tour’s most worthwhile choices. True crime can become shallow when it treats victims as clues in a puzzle. Here, you get some sense of the pressures affecting ordinary people, including the constant need to find food, shelter, and lodging money.
Mitre Street and Mitre Square connect two murders
At Mitre Street, you hear about Elizabeth Stride and the hours before her death. The account includes Louis Diemschultz discovering her body near the gateway to Dutfield’s Yard, with photographs used to show the location and the victim.
The stop lasts only a few minutes, but the route then moves to Mitre Square and the murder of Catherine Eddowes. Her body was found by Police Constable Edmund Watkins on his beat. The guide explains that this was the second murder in less than an hour, a detail that helps explain the shock felt by the City of London Police.
You follow the police search route toward the clue found in the case. The presentation does not treat that clue as a simple solution. Instead, it explains why its value is disputed and how the police handled the information.
These two stops work well together because they show how quickly events unfolded and how the case crossed between different police jurisdictions. The route is also a reminder that the modern map does not tell you how confusing the area would have felt at night in 1888.
Goulston Street reveals the police problem
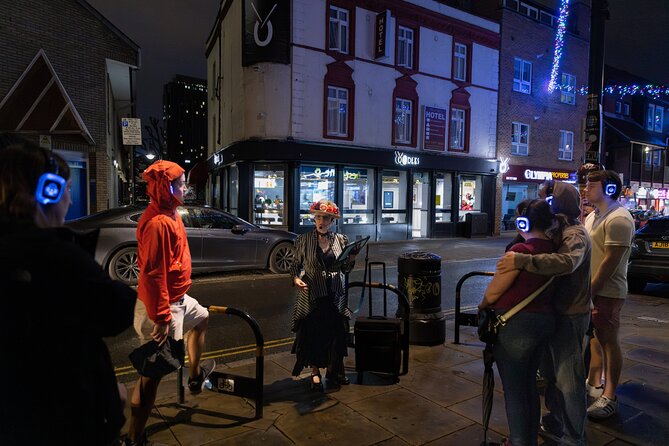
At Goulston Street, you stop opposite numbers 108 to 119 and look toward the doorway linked with the famous clue. Jenny explains what happened after it was discovered and why the division between the Metropolitan Police and City of London Police mattered.
That split remains important to the case. The two forces were separate then and remain separate now. For you, this section adds useful police context to a story often reduced to suspects and grisly details.
The stop also shows one of the tour’s better habits: it treats the clue as part of a chain of decisions rather than a magical answer. You hear how the evidence was interpreted, what happened after its discovery, and why uncertainty remains.
A few more London days worth a look
- The Premier Classic London: Private 4-Hour Tour in a Black Cab
★ 5.0 · 2,737 reviews - Stonehenge Inner Circle Private Tour from London with Bath Visit
★ 5.0 · 1,909 reviews - London: Tower of London Entry & Beefeater Private Audience
★ 4.4 · 1,441 reviews - Private Tour: Black Taxi Tour of London
★ 5.0 · 1,153 reviews
Wentworth Street and Brick Lane bring the victims into focus
At Wentworth Street, the route returns to the start of the murder sequence. Jenny discusses a woman who is not part of the traditional five victims but has more recently been considered a likely victim by criminologist Professor David Wilson.
This is a good fit for anyone who already knows the basic Ripper story. You hear an alternative view of the case rather than the same familiar list repeated yet again. Historical photographs of the site and victim support the discussion.
As the route turns toward Brick Lane along Osborn Street, sound becomes more important. Music is used to suggest what might have been heard from pubs and music halls in 1888. It is a short stop, but it changes the mood and gives you a sense of how public and noisy these streets could be.
Opposite the Frying Pan pub, you hear about Polly Nichols. This was described as the last place where she had a drink. Her story is tied to the need to earn enough money for lodging, a small but crucial detail that brings the economic pressures of the time into the case.
You also hear how two men found her body in Berner’s Street and sent for the police. The tablet again shows photographs of the victim and location. This mix of personal circumstances, street geography, and visual material is stronger than a simple narration of the murder.
As you leave Polly’s story, period street-vendor sounds and police questioning help recreate the immediate aftermath. The effect is not subtle, but it is useful. You get a sense of how quickly suspicion spread through a local community.
Hanbury Street shows the case at its most personal
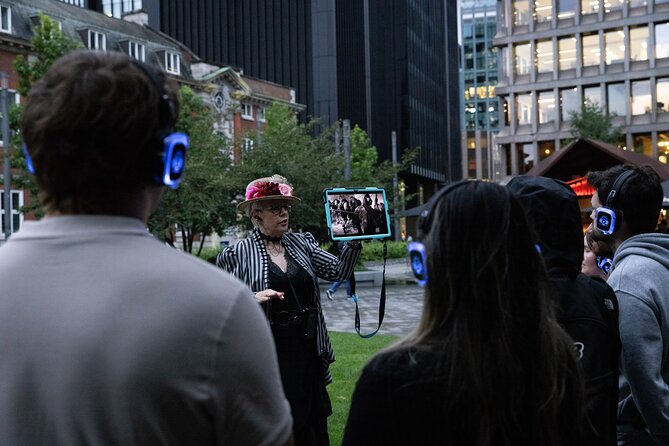
Hanbury Street is the site linked with Annie Chapman’s murder. Here, Jenny covers Annie’s life and the events leading to her death on September 8, 1888.
You hear that Mrs. Long saw Chapman less than an hour before the murder with a man outside number 27. The guide then explains how Chapman was enticed into the backyard of number 29 with promises of money and how she was killed there.
This stop is likely to be one of the more upsetting sections of the walk. The description is detailed, and the route does not avoid the brutality of the crime. If you prefer historical crime tours that keep violence offstage, you should know what kind of presentation this is before booking.
The discussion also covers a prominent suspect who was later discounted. That detail helps show how the case developed over time, with early suspicions often failing to survive closer examination.
Wilkes Street and Puma Court explain how fear spread
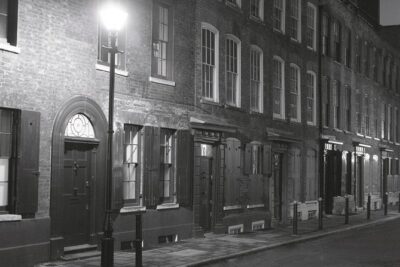
Walking down Wilkes Street, the focus widens again. By this stage, the murders had caused outrage in the local community, while newspapers helped fuel public fear. Jenny also points out houses dating back to the 1700s and explains who built them and why.
This short architectural and social note is welcome. It gives the old streets some life beyond their connection to murder sites. You begin to see the area as a working neighborhood with its own buildings, routines, and residents, not just as a backdrop for a famous criminal case.
At Puma Court, the subject turns to one of the letters sent to the press. More than a thousand letters were sent to police and newspapers, but only a small number are treated as especially important. The route examines one of those key letters, then uses newspaper boys shouting lurid headlines to show how the press helped spread terror.
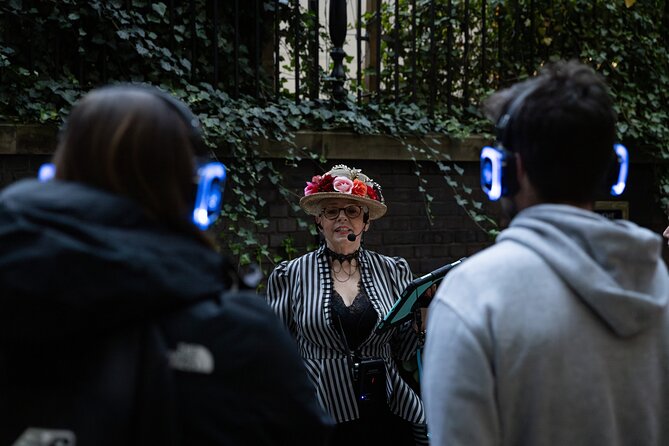
The audio effects are one of the tour’s more distinctive features. They are also the reason you should clarify how the equipment will work for your group. The tour includes high-tech headphones, and several descriptions of the experience praise the way the headphones keep you connected to the guide while walking. But one account says the system used a guide microphone and speaker and was difficult for a person who was hard of hearing.
If hearing is a concern, tell Jenny at the start and ask to walk near the front. That practical step was specifically suggested by the guide, and it may make a major difference.
Commercial Street links pubs, markets, and survival
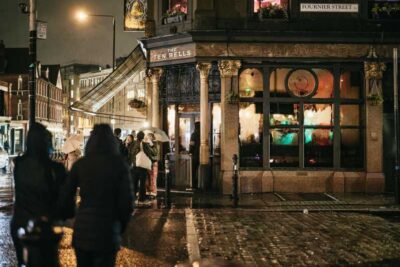
Opposite the Ten Bells, you hear about the area around Spitalfields Market and the pub’s connection with Mary Kelly. Jenny also discusses Christchurch Graveyard and its importance to people without homes.
This section is valuable because it explains how ordinary resources shaped daily life. A place to sleep, wash, eat, or find temporary shelter could matter enormously. Things that seem minor today could lead to arguments and fights when people had so little.
The Ripper story has also generated controversy over the years, and that controversy is part of the stop. You are not given a neat ending. Instead, the guide shows how the case has been reshaped by newspapers, later writers, suspects, and changing theories.
Brushfield Street and the Lusk letter
At Brushfield Street, the group pauses in the entrance to the London Fruit and Wool Exchange building. The discussion returns to another important letter, known as the Lusk letter.
Jenny explains that it arrived in a box with a piece of material claimed to have come from one of the victims. Photographs of the letter and the recipient are shown on the tablet.
As with the earlier letter, the appeal is partly forensic and partly cultural. You get to consider how evidence was presented to the public at a time when newspapers could print sensational claims before reliable facts were established.
The setting also gives you a chance to appreciate how the route moves through modern commercial streets while constantly comparing them with the 1888 neighborhood. That contrast is a useful part of the experience. You can see the present while the guide reconstructs the past.
Mary Kelly’s final stop is the longest and hardest
The final major stop is in the central courtyard of the London Fruit and Wool Exchange. It is the closest point on this route to the room where Mary Kelly was killed.
Mary was the youngest of the traditional victims and the only one killed indoors. The stop covers the events before her death and then describes the murder in graphic detail. At 15 minutes, it is also the longest stop on the route.
This is where the tour’s serious tone reaches its peak. The enclosed setting and the detailed account may be too much for some people, but those who want a full examination of the case will find this section central to the experience.
Afterward, Jenny discusses suspects from the period and more recent theories. She gives you her own view of who may have been responsible, rather than pretending the case has a proven answer. The walk ends at Bell Lane, and she directs you toward the shortest route to Liverpool Street Station.
What $47.52 buys you
At $47.52 per person, the value depends heavily on your group size and interest. For a private group, the ability to ask as many questions as you want makes the price more appealing than a large public walk where the guide must keep moving.
You are paying for about two and a half hours of guided commentary, a route through several connected parts of east London, visual material, and the audio setup. Admission to the streets and public areas costs nothing, so the value lies in Jenny’s preparation, interpretation, and presentation.
I would book it if you want more than a quick Jack the Ripper overview. The walk includes social history, policing, press coverage, old letters, architectural details, and competing theories. If you only want the famous five murder sites and a short dramatic story, a cheaper group walk may be enough.
The private format also gives you more control. You can ask about a specific suspect, challenge a theory, or request clarification about the police evidence. That personal access is the clearest reason to choose this experience.
Timing, walking, and practical details
The meeting point is Aldgate Station, and the end point is Bell Lane. The stated operating hours are Monday through Thursday from 3 PM to 9 PM for dates between February 26, 2026 and March 18, 2027.
Plan for constant walking and standing for roughly 2.5 hours. No break is scheduled, and the experience is not recommended if you have walking or standing difficulties. Wear comfortable shoes, and bring water because bottled water is not included.
A mobile ticket is provided, and confirmation is sent when you book. Service animals are allowed, and the route is near public transportation. The tour requires good weather, and a cancellation caused by poor weather or failure to meet the minimum number of participants offers either another date or a full refund.
You can cancel for a full refund up to 24 hours before the start time. Changes or cancellations inside that window are not accepted for a refund.
Who should book this London crime walk?
I would recommend it to true crime fans, repeat London visitors, and anyone interested in the daily realities of Victorian east London. It suits people who enjoy asking questions and listening closely rather than rushing from one photo stop to the next.
It is also a good choice if you want to see streets beyond the usual London sightseeing circuit. Much of the route passes through Aldgate, Whitechapel, Brick Lane, and Spitalfields, where the modern city sits directly over the old street plan.
I would be cautious if you dislike graphic material, struggle with long periods on your feet, or need guaranteed high-volume audio. The guide can suggest standing near the front for better hearing, but the sound setup may vary with group size and local noise restrictions.
Should you book the Jack the Ripper Private Immersive Tour?
Book it if you want a focused, question-friendly walk led by Jenny, with photographs, period sounds, police detail, and a serious look at the victims’ circumstances. The route is long enough to give the case context, but still compact enough to fit into an afternoon or early evening in east London.
Skip it if you want a light entertainment tour, a seated experience, or a short stroll with little graphic detail. At $47.52 per person, it is good value for a private group that will use the guide’s time and ask questions. For everyone else, the main decision is simple: choose this walk for its detail and atmosphere, not just for the name Jack the Ripper.
FAQ
Where does the tour start?
The tour starts at Aldgate Station, Aldgate, London EC3A, UK.
Where does the tour finish?
The tour ends at Bell Lane, London E1, UK. At the end, the guide directs you toward the shortest route to Liverpool Street Station.
How long does the tour last?
The tour lasts approximately 2 hours and 30 minutes.
Is the tour private?
Yes. Only your group participates in the private activity.
What is included?
High-tech headphones are included. Bottled water is not included.
Is the tour suitable for anyone with walking difficulties?
No. The tour includes about two and a half hours of walking and standing with no scheduled break, and it is not recommended for people with walking or standing difficulties.
Are service animals allowed?
Yes. Service animals are allowed.
When can I cancel for a full refund?
You can cancel at least 24 hours before the experience start time for a full refund. Cancellations or changes made less than 24 hours before the start time are not refunded.
Latest arrivals on the London list
- Easy Access Tower of London Royal Secrets & Scandals Tour★ 5.0 · 3 reviews
- Stonehenge Special Access Guided Morning Tour from London★ 4.5 · 3 reviews
- Shoreditch & East London Walking Tour with a Local, Custom & Private★ 5.0 · 3 reviews
- Madame Tussauds London Fast Track and Champagne Experience★ 3.5 · 3 reviews
- Private transfer from London Heathrow Airport to Southampton★ 5.0 · 3 reviews
- London Private Brixton Tour with a Local – Culture & Stories★ 4.9 · 3 reviews
- Private Full Day Tour – Fast Track Tower of London and Lunch★ 4.6 · 3 reviews
- London Soho District – Guided Walking Tour 12 guests 2,5h★ 4.8 · 3 reviews
Jack the Ripper Tours, compared.
London Jack the Ripper Guided Tour with Ripper-Vision
Read our review →
German Language : Original Jack the Ripper Tour
Read our review →
Jack the Ripper Walking Tour – Ripper Vision Tours
Read our review →
Ultimate Jack the Ripper : Guided Tour of London
Read our review →
Browse the lists this tour appears in